
How to install Magento 1.9x
How to install Magento 1.9 – This tutorial is for magento beginner developers to install magento 1.9 successfully. Firstly, we will download the files from magento.com and secondly, configure the setup wizard successfully. So, open the new tab and type https://magento.com and press enter. Hover over the community menu and click on the documentation and resources link below the developer’s section. It will redirect you to the documentation and resources page, on the top right side of the menu click on the release section. Find the magento ver 1.9.x there you can select the version and download the files
To download the source code, you will need to have a registered account on that site. So please create an account. After the source code is downloaded, move the files to the htdocs folder in (MAMP/XAMPP) folder.
Following steps to install the magento 1.9
There are 7 steps. Please follow each and every steps to run the application on your system.
Step 1: Go to PHPMyAdmin, and create a new database namely magento or any other name.
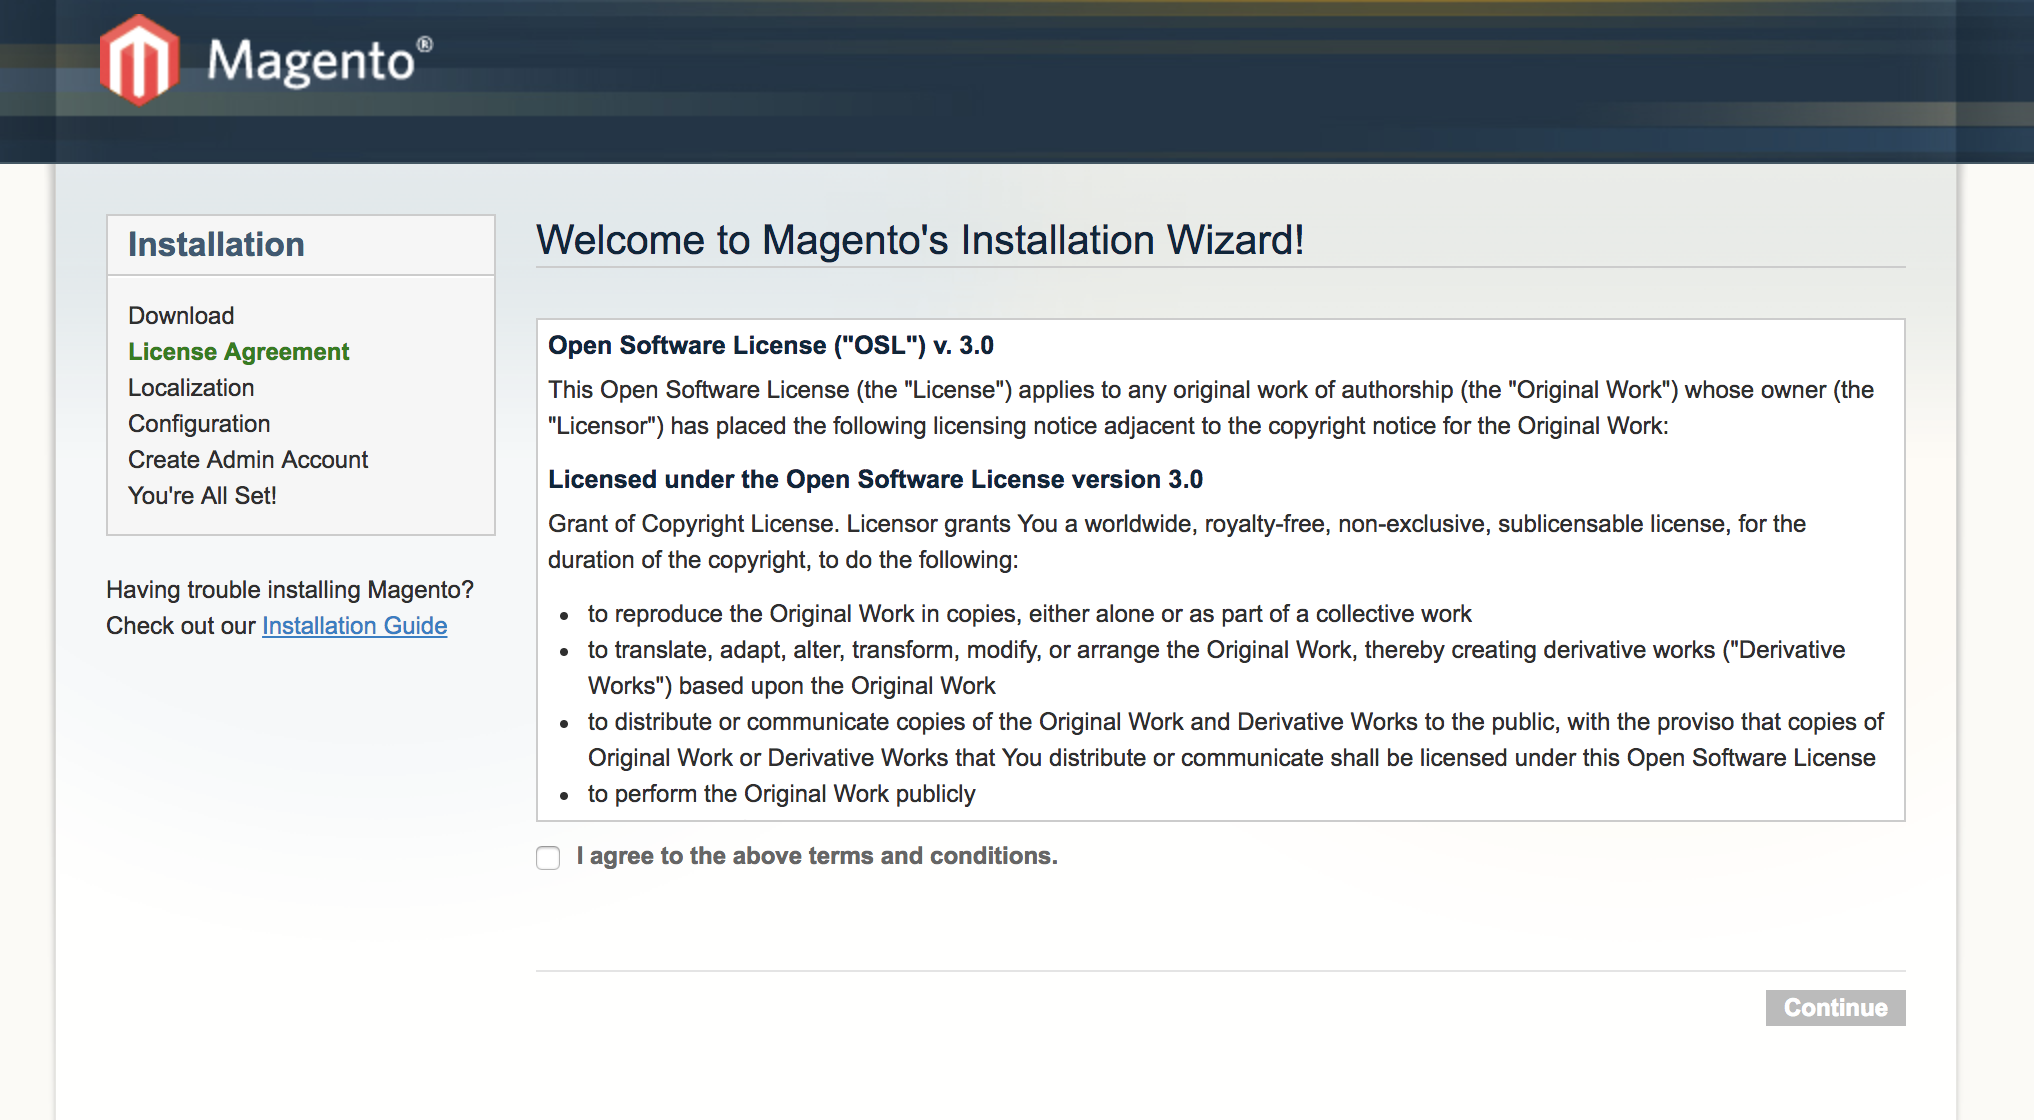
Step 2: Go to a new tab, and enter http://localhost:8888/magento that will display a setup wizard and
we will need to configure the database, store, and user information. The setup wizard page looks like the below image. Click on the “I agree to the above terms and conditions” checkbox and click on the continue button.
Step 3: Localization
In this part, we will set up the store information, and that is store localization, time zone, and store currency.
Locale: Select the store localization.
Time Zone: Select the store time zone.
Default Currency: Select the currency that will be used on the store

Step 4:Configuration
In this section, we will configure the database information, session storage, and store web access options.
Database Connection
Database Type: By default, the database type will be MySQL.
Host: Enter “localhost” if your database and source code are located on the same server or if you have different database hosting. Then we will need to add the hostname or IP address.
Database Name: Enter the database name.
User Name: Enter the database privilege user’s username.
User Password: Enter the database privilege user’s password.
Tables Prefix: If you have many magento databases hosting on the same server, then you can uniquely identify them by entering the table prefix.
Web access options
Base URL: Change the “localhost” to 127.0.0.1, because magento recommend to use them.
Admin Path: this part is used for admin panel URL.
Enable Charts: You can enable or disable the Chart which is located on the Dashboard page.
Use Web Server (Apache) Rewrites: Select on this section to not automatically validate the Base URL.
Skip Base URL Validation Before the Next Step: Enable the user to rewrite web server functionalities to enhance the search engines optimization.
Use Secure URLs (SSL): If you have installed the SSL (Secure Socket Layer) then select to use them.
Session Storage Options
Save Session Data In You can either a file system or database to store the session data. By default, magento selects the file system to store the session data. But if you want to wish to use the database instead of the file system then session information will use the database.

Step 5:Create the admin account
This information is related to admin information. This credential will be used for login
Personal Information
First Name: Enter the store owner’s first name
Last Name: Enter the store owner’s first last
Email: Enter the store owner’s email address.
Login Information
This part will be used for the login section.
Username: Enter the admin’s username which will be used on the login
Password: Enter the admin’s password
Confirm Password: Enter password which should match with password field.
Encryption Key
This field is used to encrypt passwords, credit cards, and more. If this is left empty then the magento will create an encryption key which will be displayed on the next page
Click on the continue button to create the admin account and complete the magento installation.


